Speedrun render guide for Bella on Vultr

Vultr, a cloud infrastructure provider offering by-the-hour rentals of virtual machines (vm), is privately owned and has 101-250 employees. While AWS, Azure and GCP offer individually priced compute resources presenting an overwhelming number of options, Vultr offers flat bundled cpu, ram, disk, ip, egress pricing. Due to their simpler deployment options this guide has images of each interface choice needed to render this orange juice Diffuse Logic scene file. This is a speedrun guide with more rendering and less talking compared to my step by step guides.

Summary
You need
- a web browser
- a credit card
- under 10 minutes before Bella starts path tracing
- 30 minutes to view the final path traced image.
You don't need
- any linux experience, just copy and paste
Optional needs
- remember to destroy your vm to avoid by-the-hour charges
- protect your Vultr login or somebody could launch expensive vm's
- once your free credits expire, top up your account with $10-$20 to cover current charges since an account with a negative balance will get your credit card CHARGED on your billing date, ahead of actual usage BASED on your current usage extrapolated for the ENTIRE month. In summary DON'T have a negative balance on billing day.
0:00 Vultr Setup
Register and attach your credit card https://www.vultr.com/promo/try250/
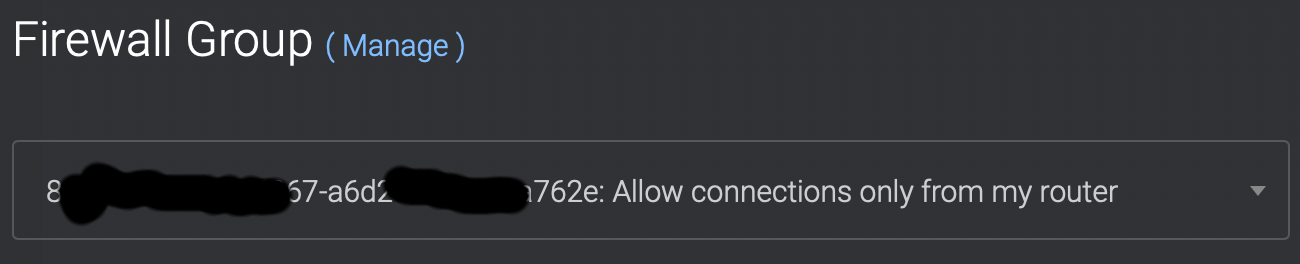
Security
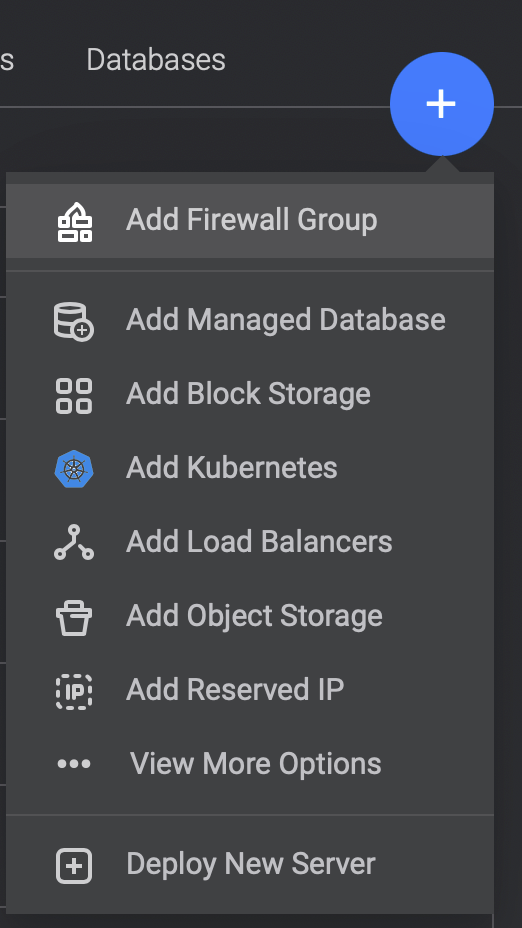
Setup the firewall https://my.vultr.com/firewall/
Choose + and Add Firewall Group
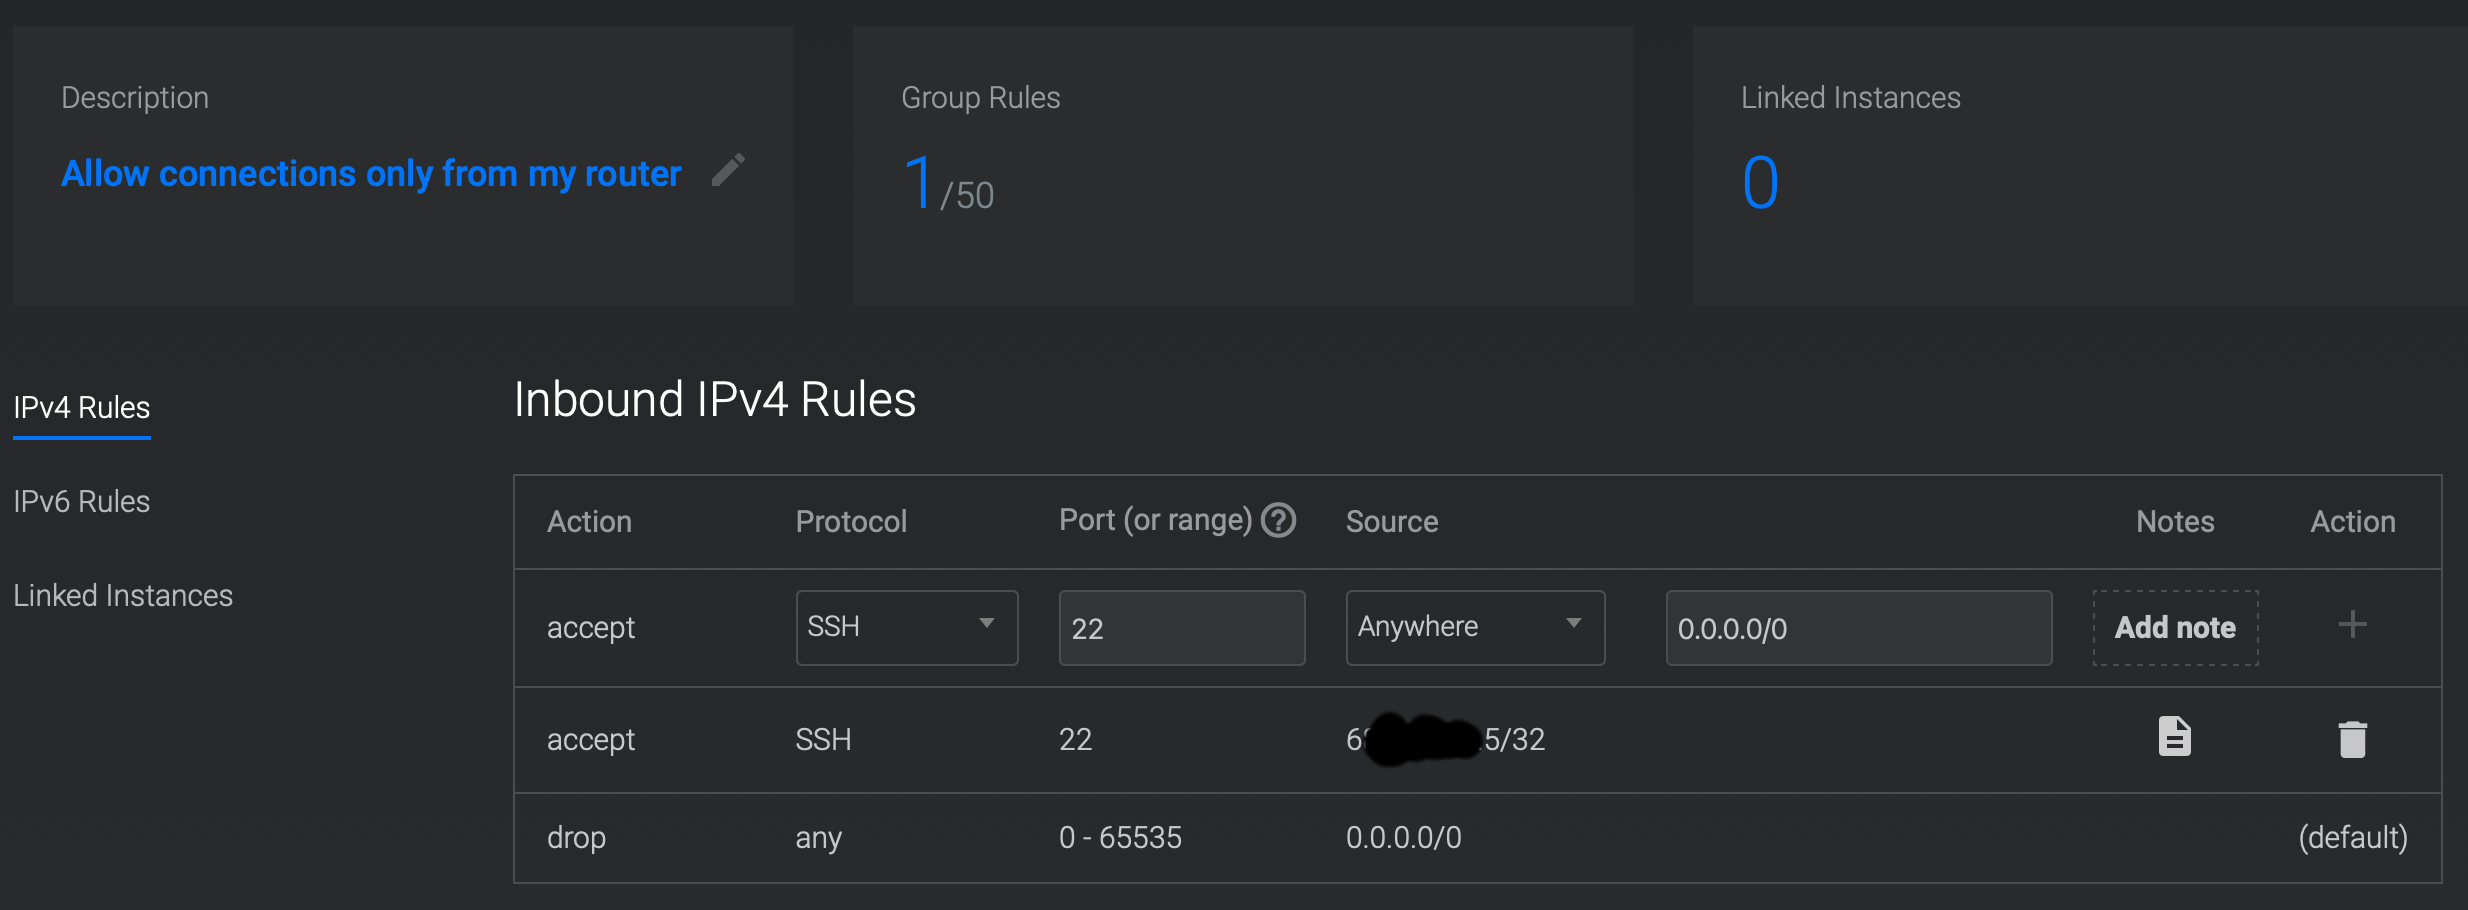
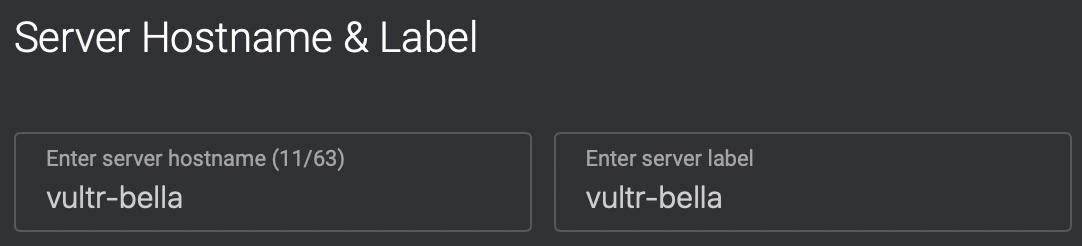
Give the group a name
Under Inbound IPv4 Rules, choose My IP as the Source allowing inbound connections ONLY from your internet router. Rules added AFTER hitting + button


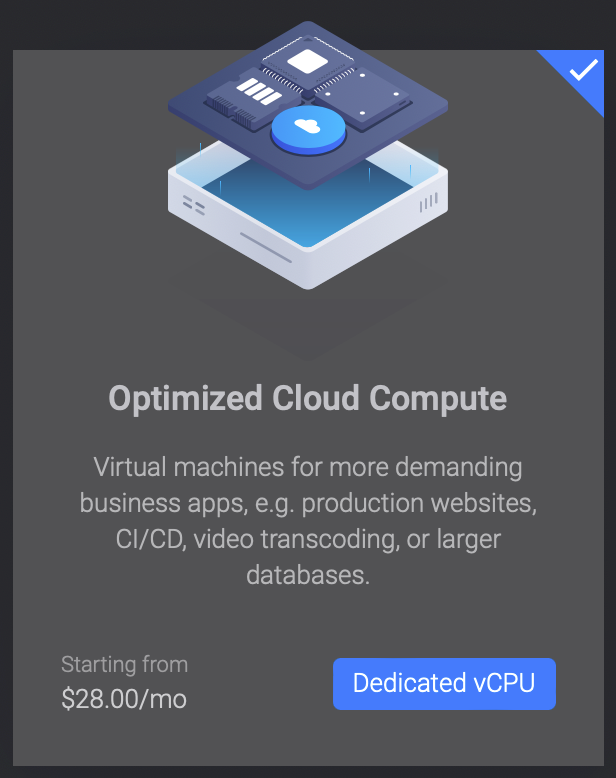
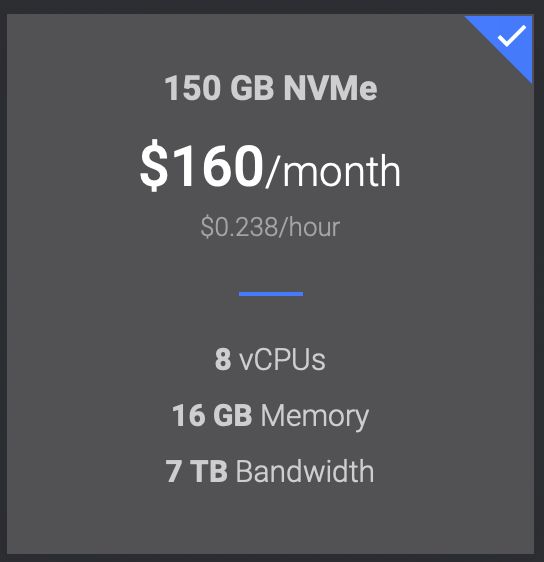
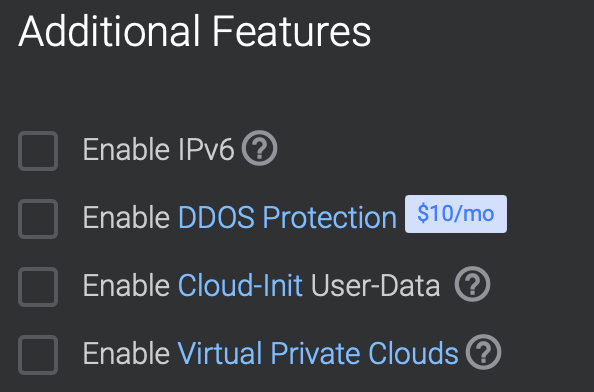
Virtual Machine Deploy
Choose these options


Choose a datacenter geographically close to you

Click Deploy Now to rent this virtual machine

5:00 Logging into vm
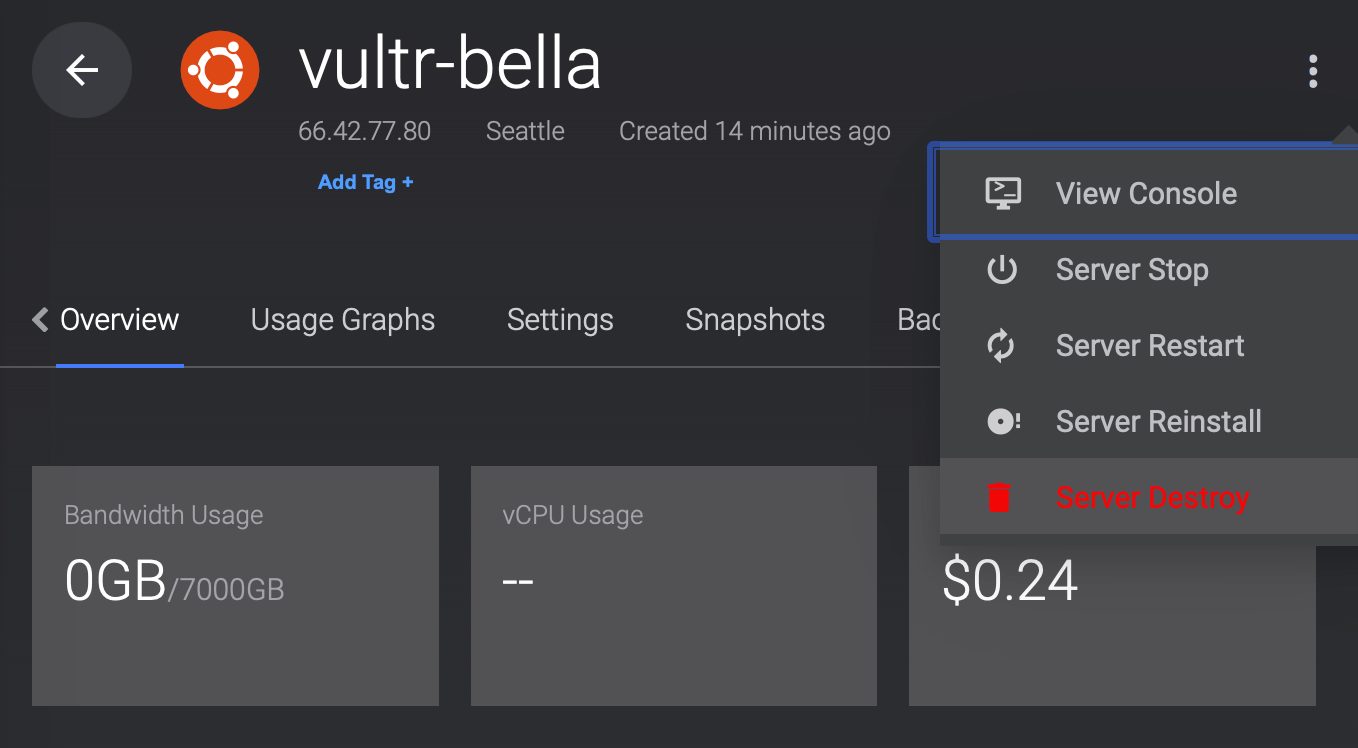
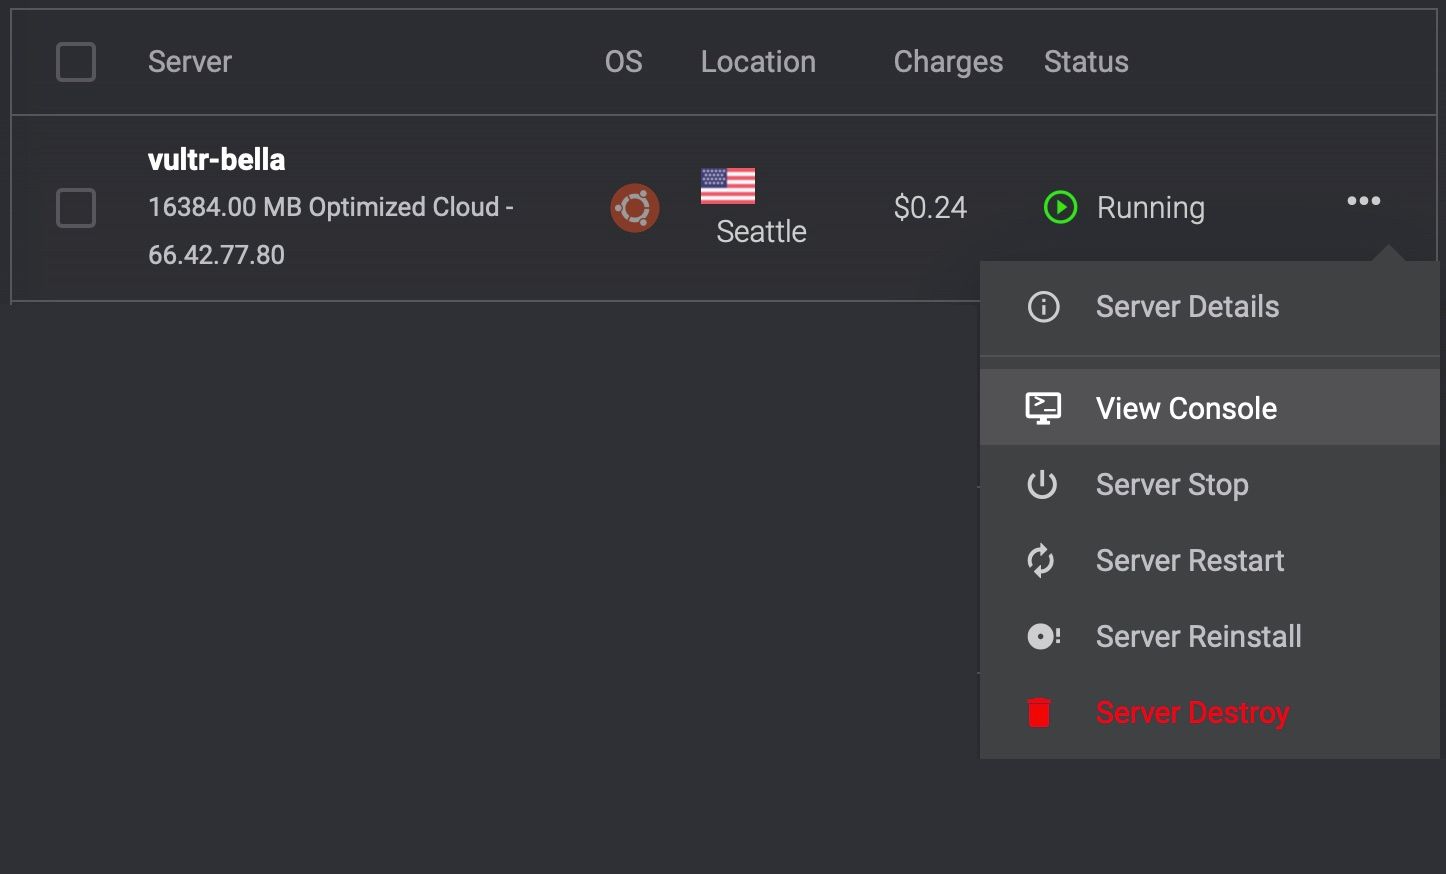
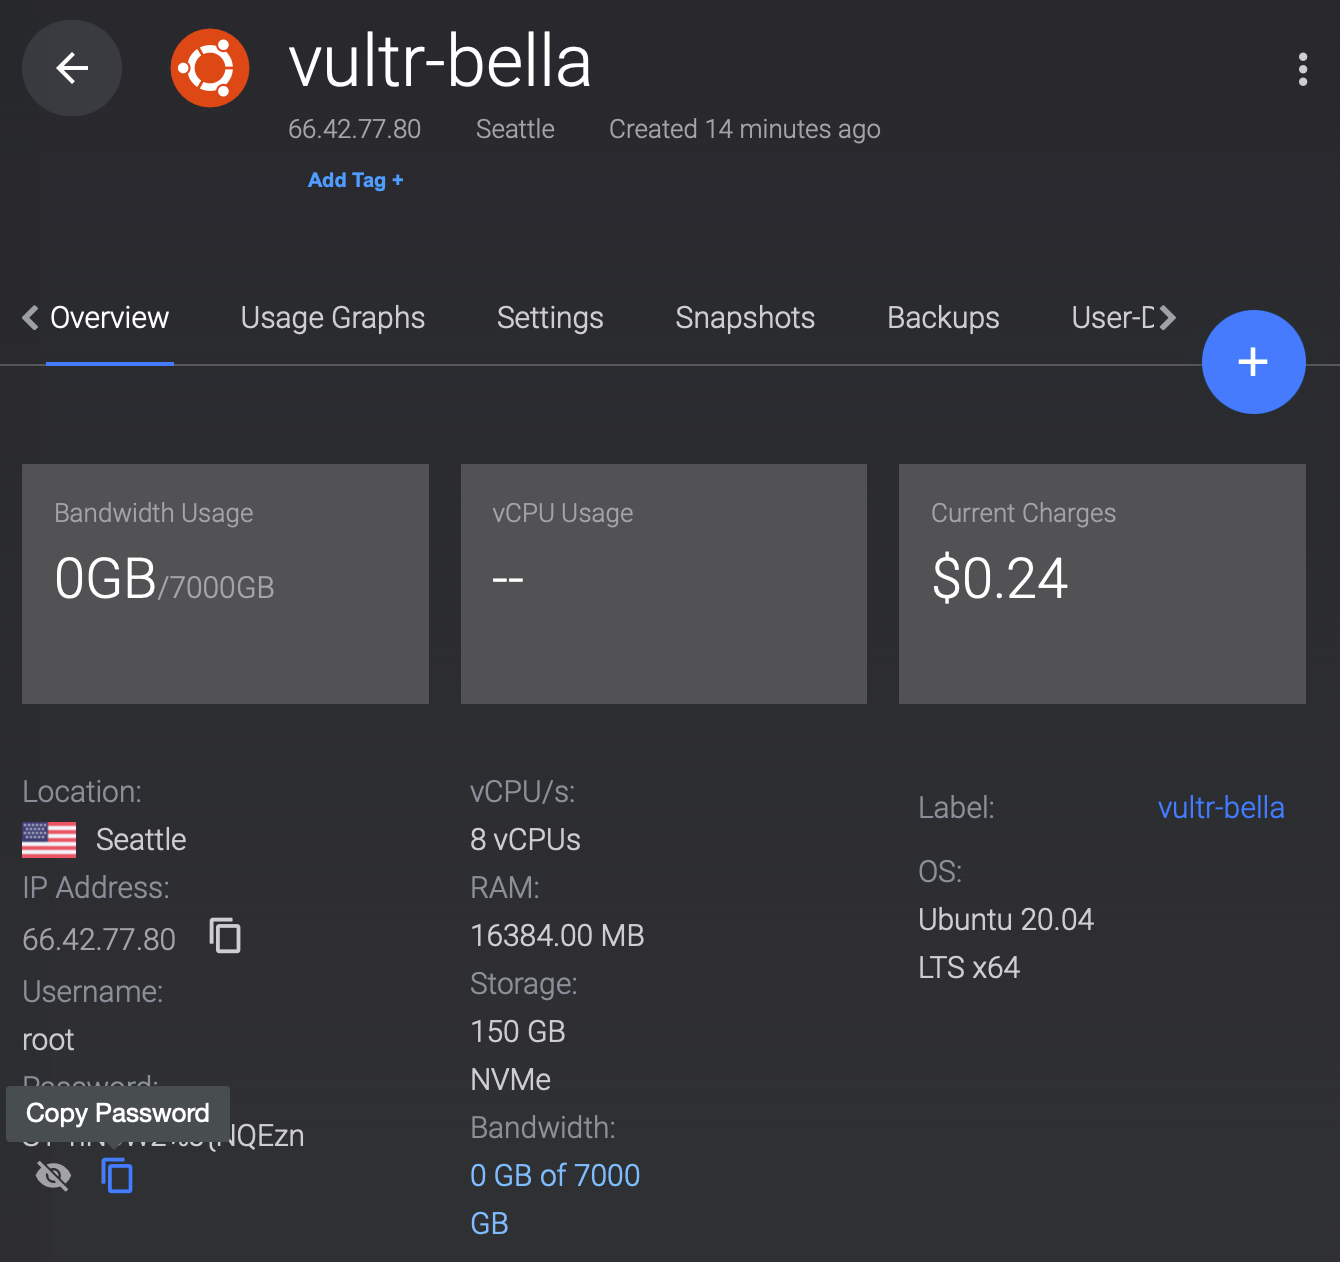
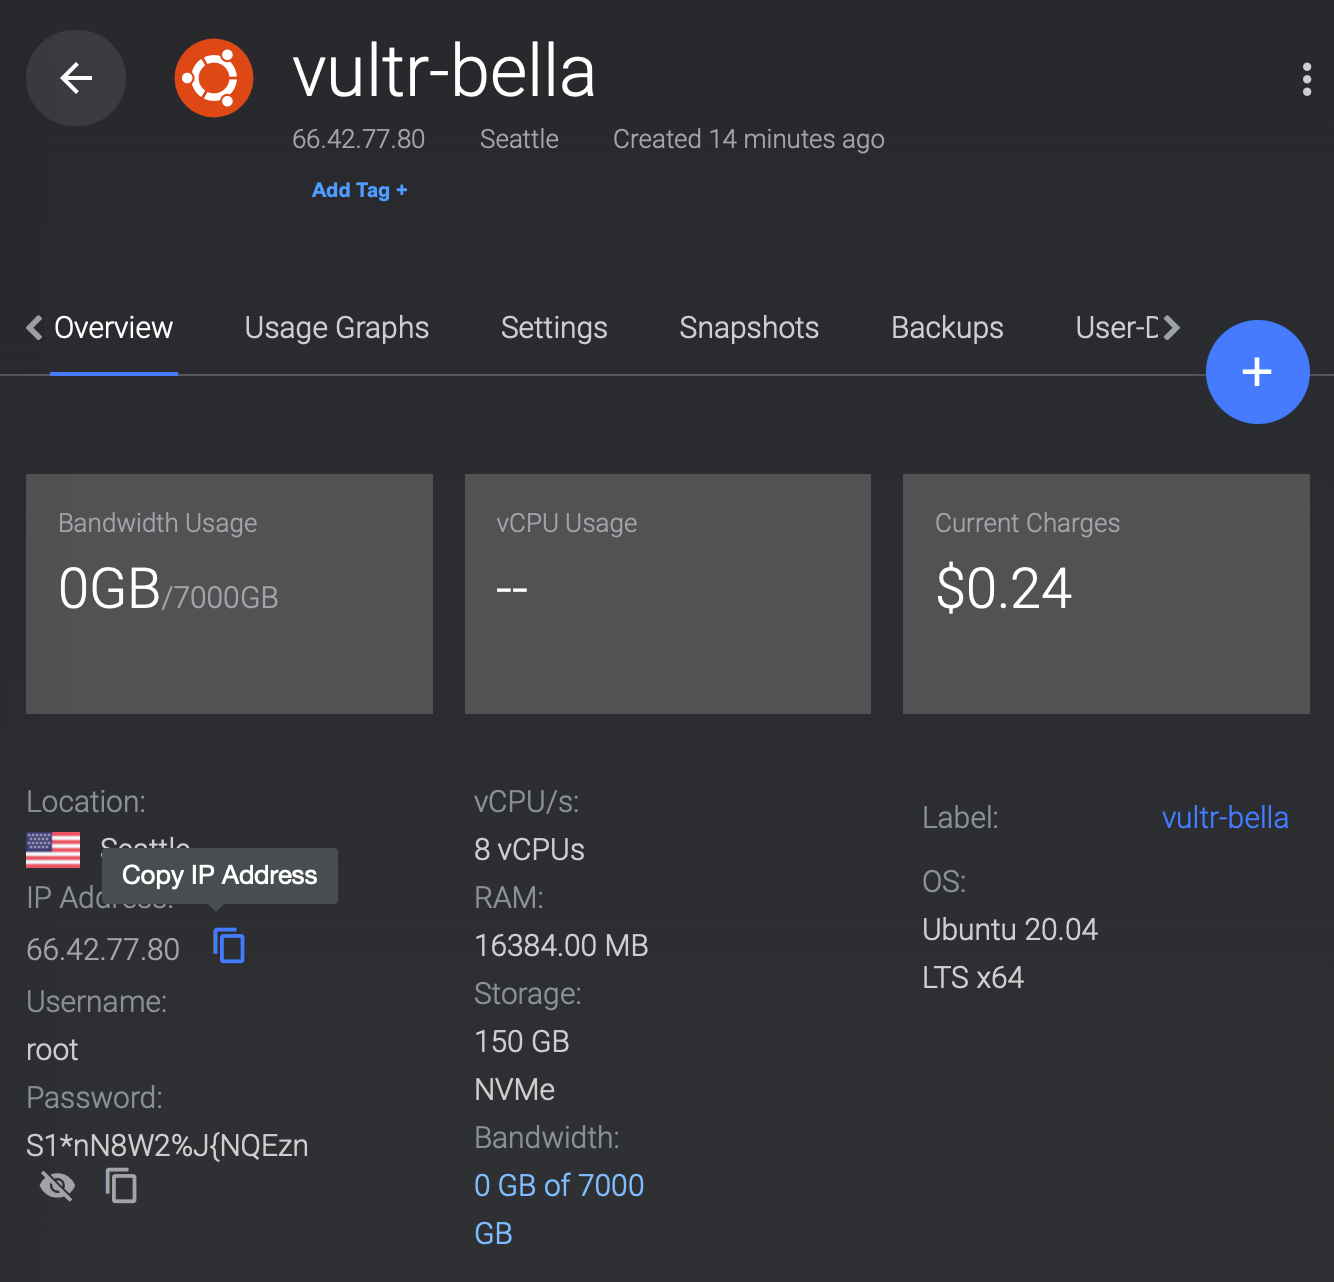
View your virtual machine https://my.vultr.com and View Console
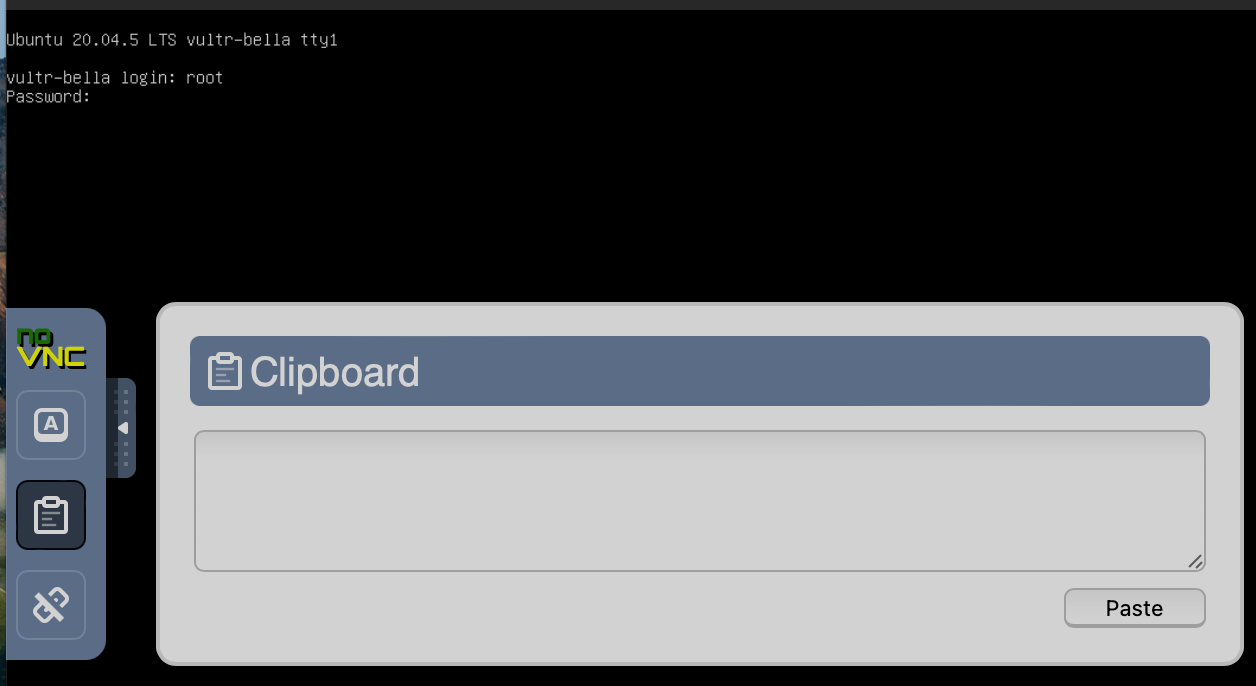
- click inside the window, hit enter
- type root, hit enter
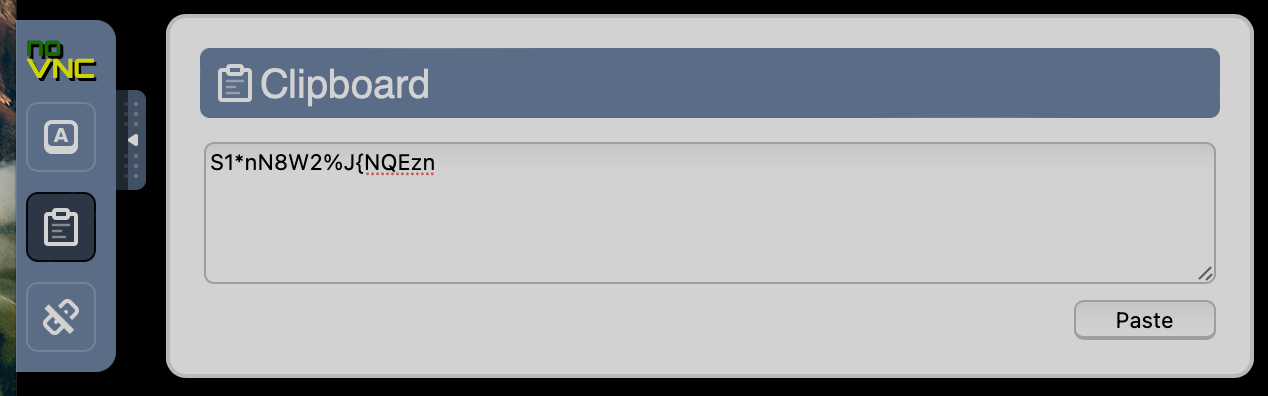
- click side thingy and select clipboard icon
4. Return to https://my.vultr.com and select Server Details

5. Hit the Copy Password button
6. Ctrl-V/Command-V into the text box, hit enter and click Paste
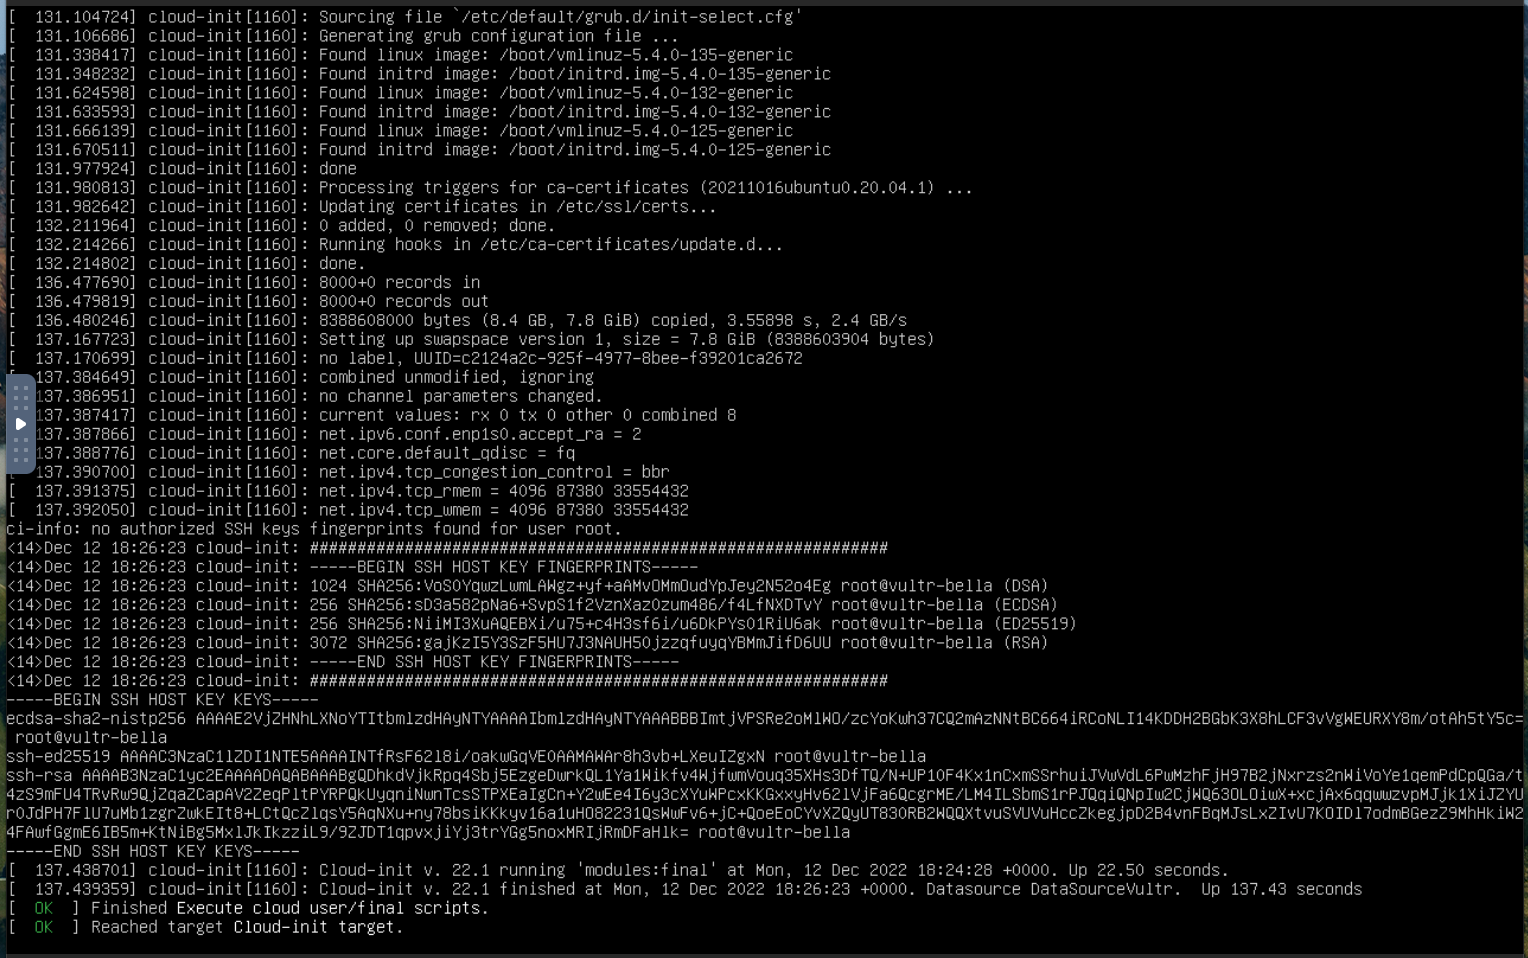
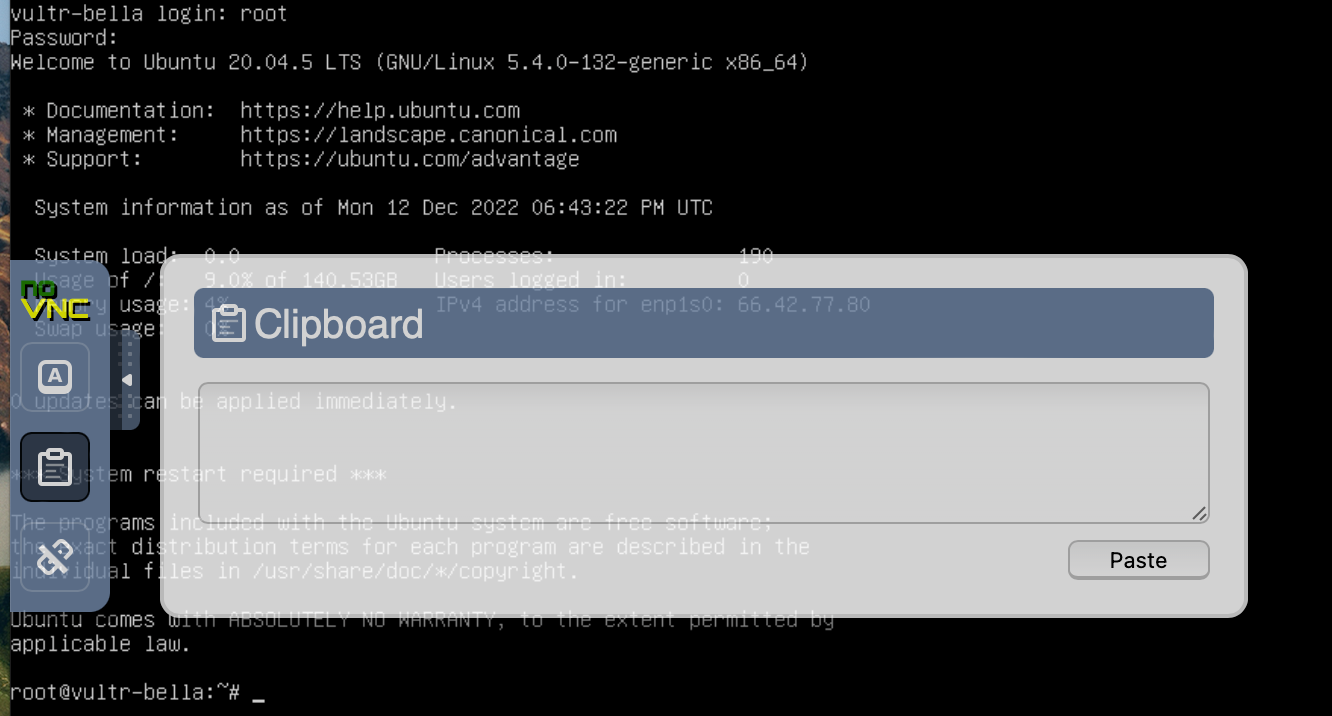
7. After your password is sent, you'll be logged into your cloud computer
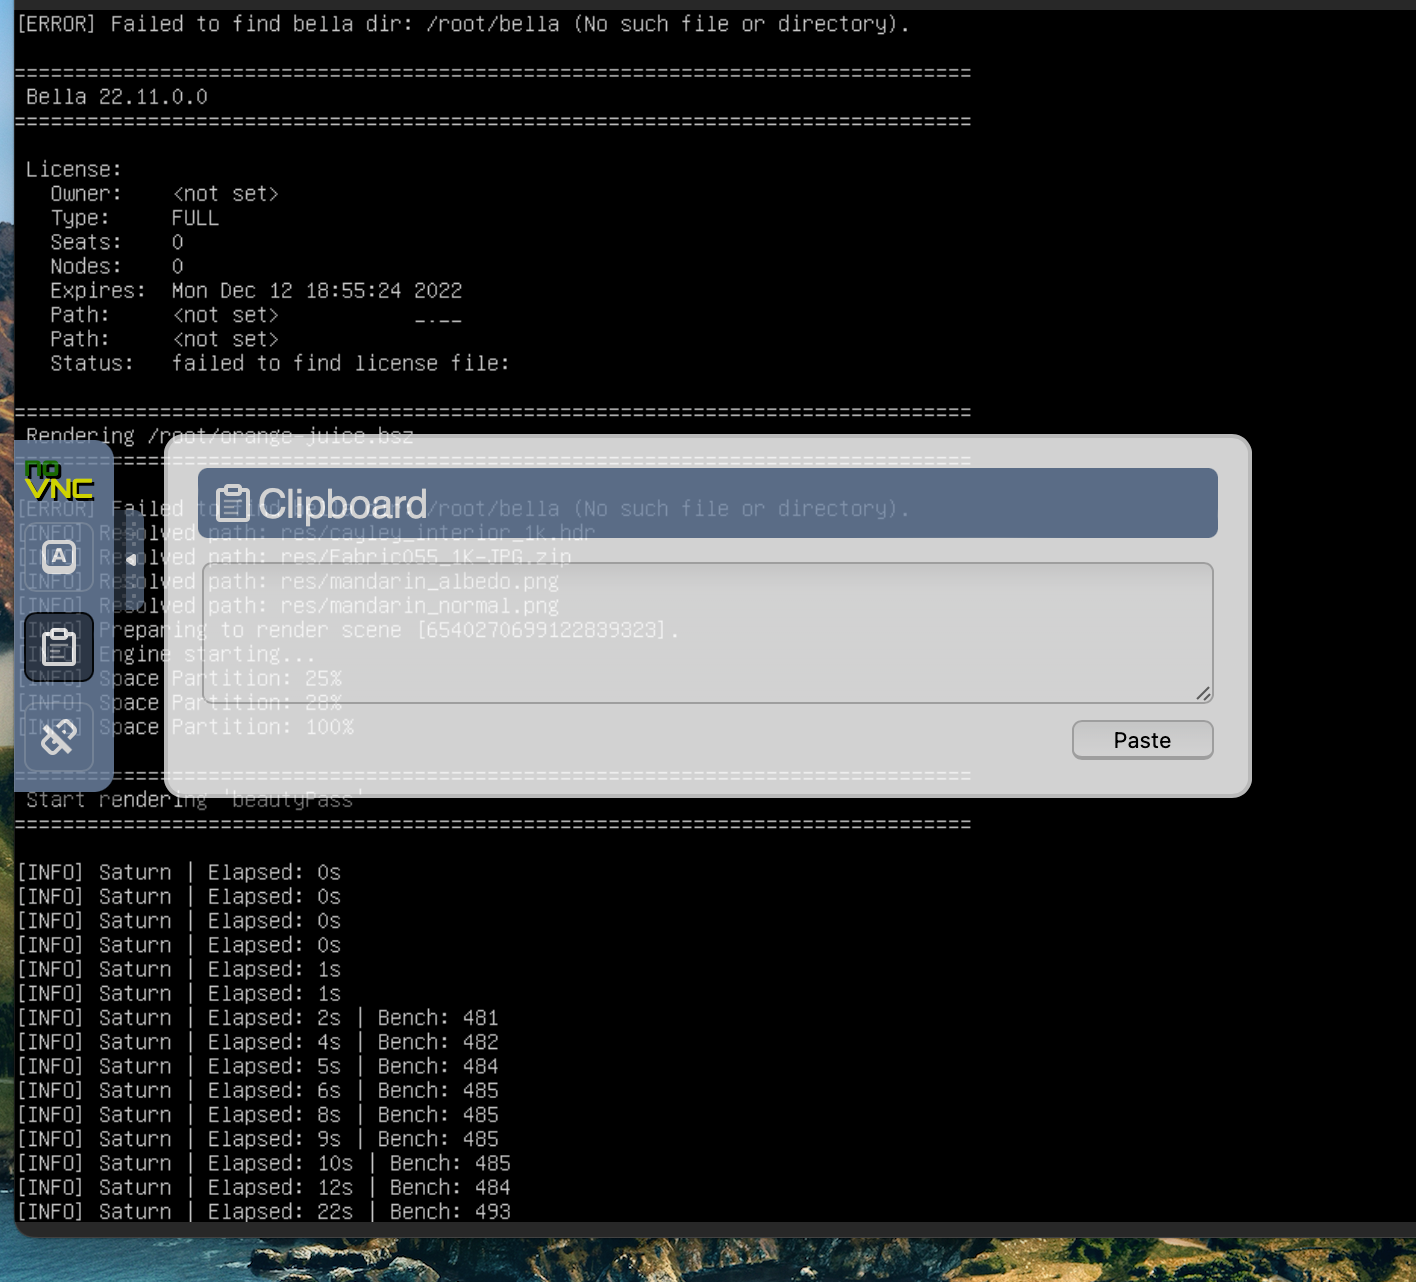
8:00 Starting Bella render
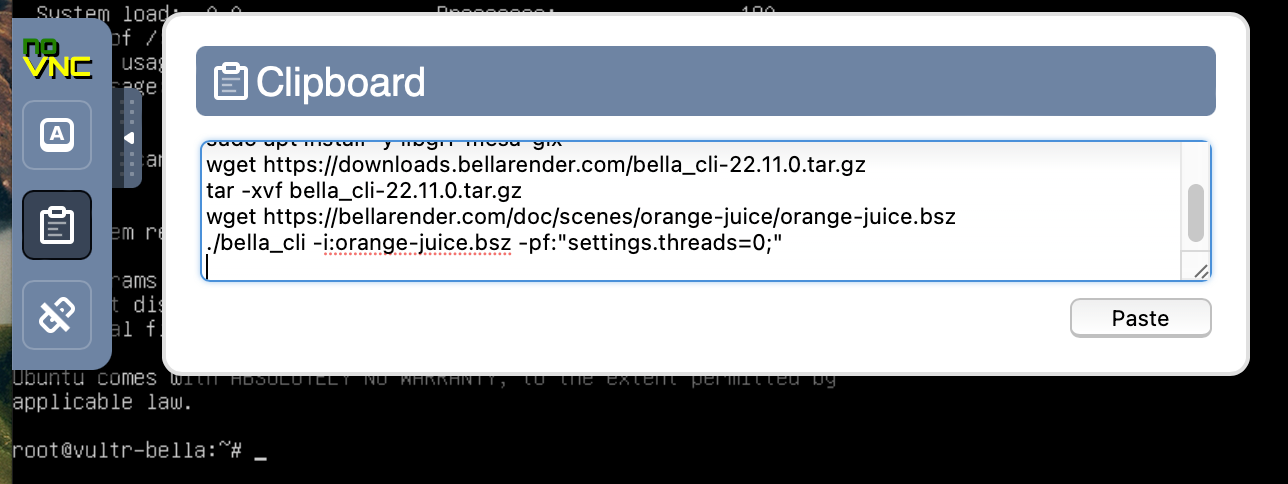
8. Copy this entire swathe of commands
sudo apt update
sudo apt install -y mesa-vulkan-drivers
sudo apt install -y libgl1-mesa-glx
wget https://downloads.bellarender.com/bella_cli-23.4.0.tar.gz
tar -xvf bella_cli-23.4.0.tar.gz
wget https://bellarender.com/doc/scenes/orange-juice/orange-juice.bsz
./bella_cli -i:orange-juice.bsz -pf:"settings.threads=0;"
9. Paste into the Console Clipboard, hit enter, click paste
10. Go get some popcorn! You started a Bella render in under 10 minutes.
40:00 Downloading your render
Wait until you see a message about orange-juice.png being written to disk
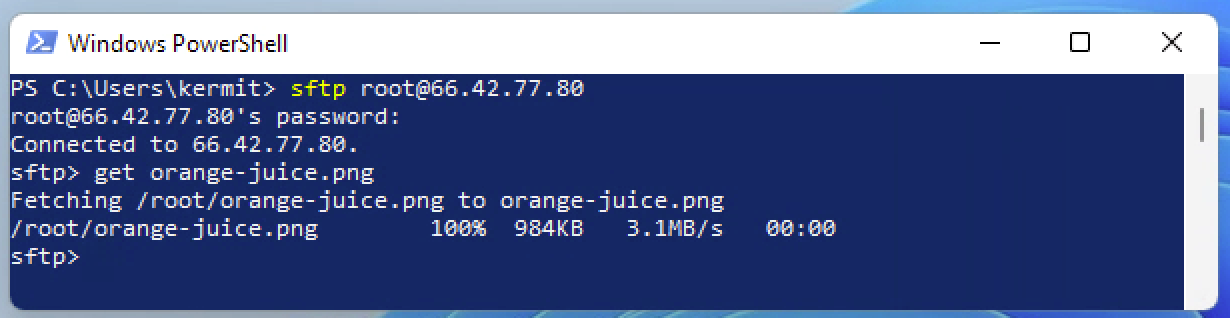
On Windows open up Powershell
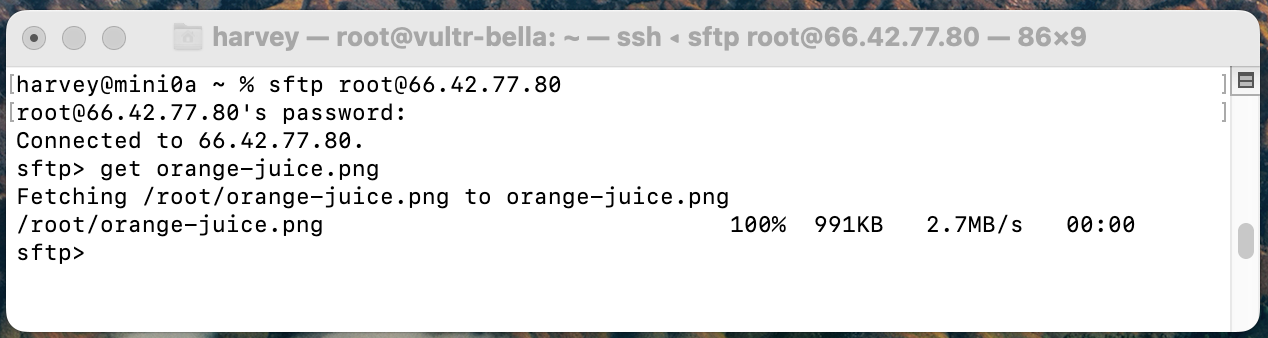
On Mac open up a Terminal
Copy the internet ip address of vultr-bella
A. Type sftp root@ in Terminal or Powershell
B. Paste the IP address
C. Copy the password from website
D. Paste the password into Terminal or Powershell
E. Type get orange-juice.png
The rendered image is now in your home directory of the computer in front of you.
Cleaning Up
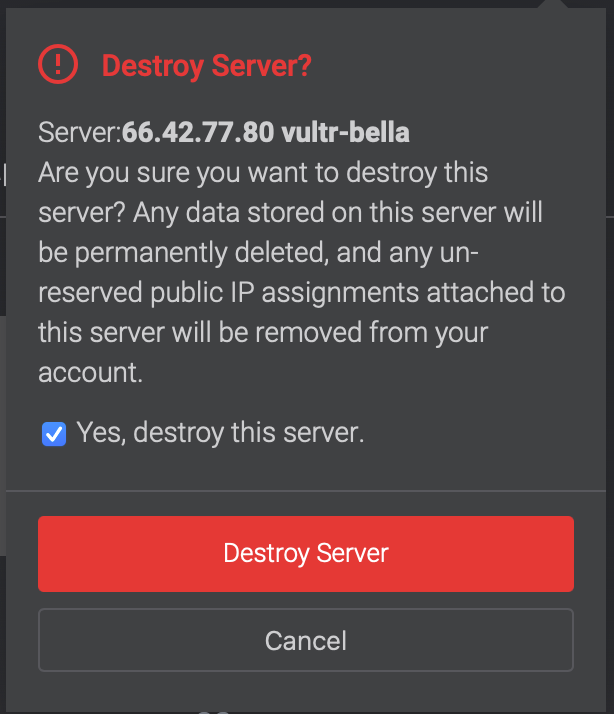
You will be charged as long as vultr-bella exists ( stopped=exists ). To stop further charges you MUST choosee Server Destroy.