Step by step render guide for Bella on Google
Google Cloud Platform (GCP) offers by-the-minute rentals of virtual machines (vm) . This guide is for a single artist who doesn't need a renderfarm but would like to rent a rendering machine for short periods of time. If you have a Google account you are a few clicks away from being able to start a Linux machine, install bella_cli and offload rendering duties from your desktop computer to the cloud for under $1 per hour. New users get a $300 credit for 90 days which should allow you to render 100's if not 1000's of images.
Summary
You need
- a Google account ( any gmail account will work )
- a Windows, macOS or Linux computer
- on Windows, to know how to start the Command Prompt
- on MacOS, to know how to start the Terminal
- a credit card with Google to pay ( if you pay for Google you're already set )
- to remember to turn off or destroy your vm's to avoid by-the-minute charges
- to check your billing page every now and then to see if you left anything on
- protect your Google login or somebody could launch expensive vm's
- 1-2 hours ( 35 minutes of which is for rendering with Bella )
You don't need
- any linux experience, just copy and paste
Getting Started
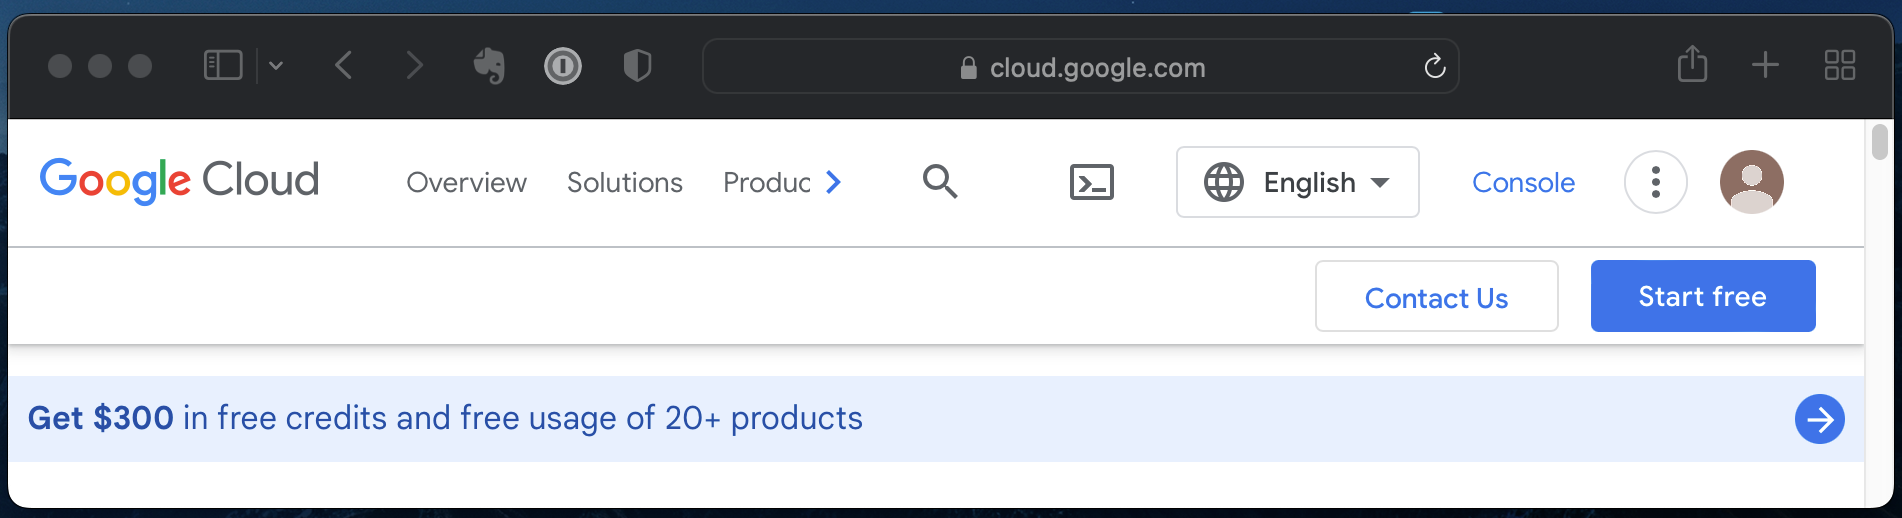
Head to https://cloud.google.com
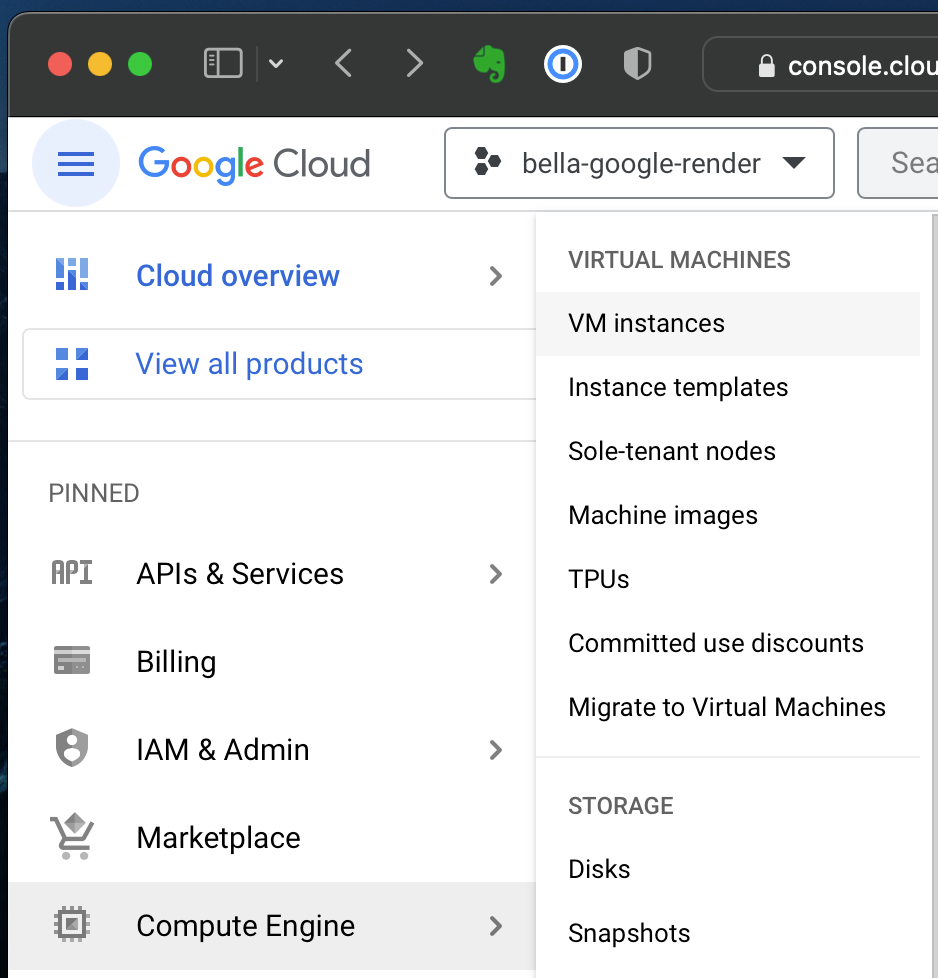
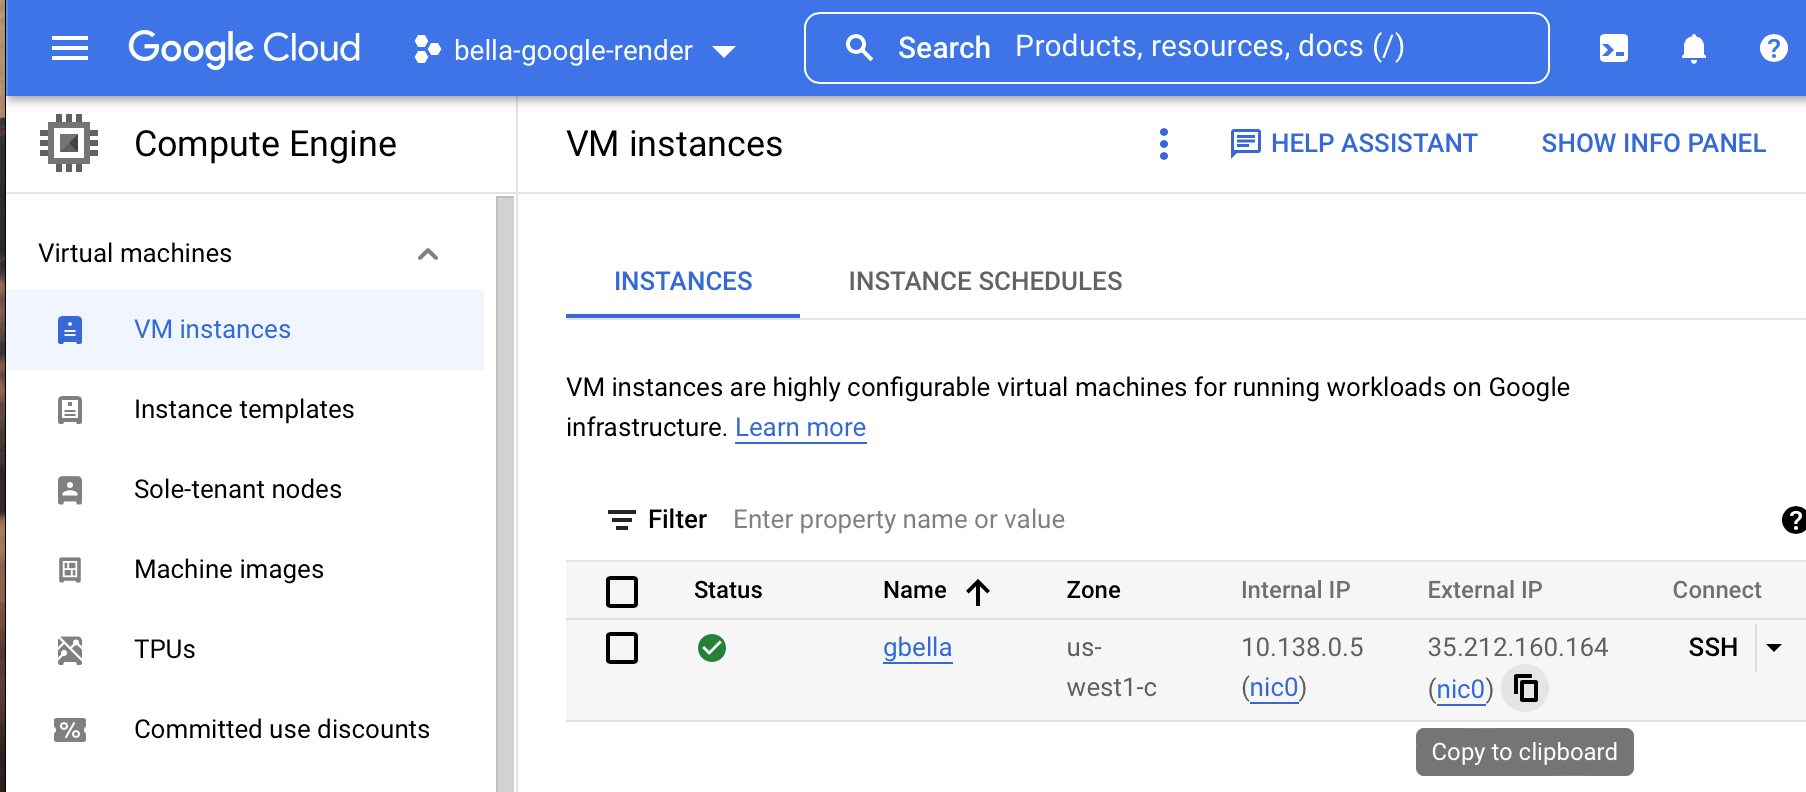
Navigate to Menu->Compute Engine->VM instances
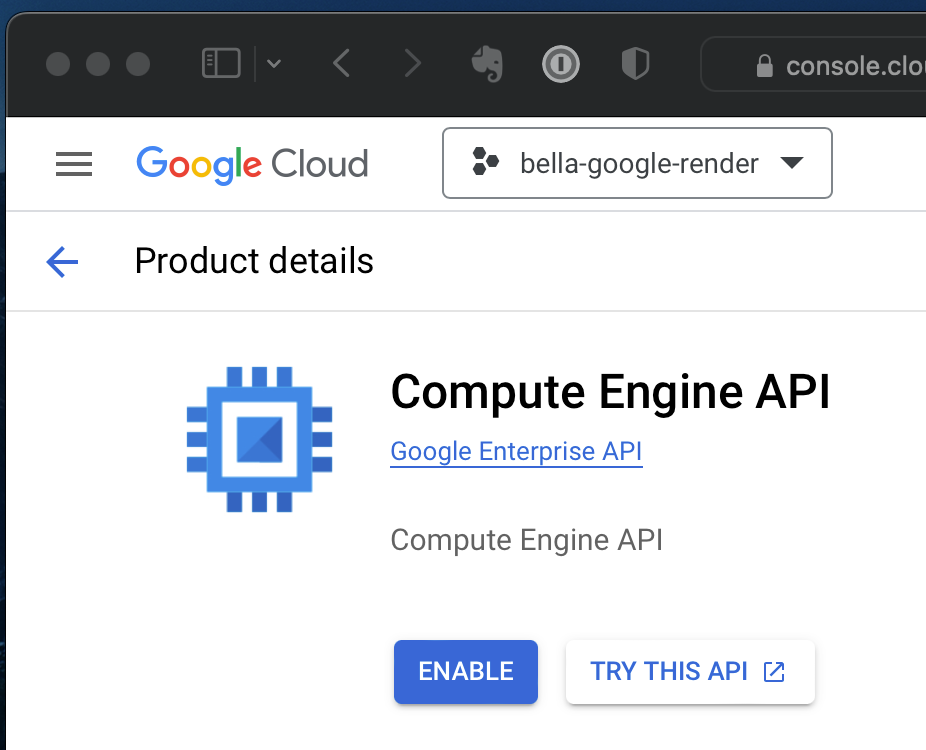
Compute Engine ( the Google product for vm's ) is disabled by default.
- Click the blue Enable button
- Enable billing
- Create a billing account enter your address and credit card. (On this page you should get a free trial offer and $300 in credits for the next 90 days.)
After your billing is setup, you can deploy vm's via the browser which offers dozens of product categories from GPU compute to Databases. To remotely control your vm's, we can use the built-in tools on your desktop computer. Windows 10+ Powershell supports ssh ( secure shell) and sftp (secure file tranfer protocol ) while MacOS and Linux have always had these command line tools. To accelerate our journey to the first rendered pixel, we'll temporarily defer these command line tools which would require setting up public key infrastructure (pki). Instead we will use Google's gcloud cli sdk (info: https://cloud.google.com/sdk/gcloud/) to take advantage of Google authentication via the browser that you are probably familiar with already and slowly ease you into using pki. The download page is https://cloud.google.com/sdk/docs/install
- Run the installer
- Start a (win) Command Prompt or (mac) Terminal aka command line interface (cli)
- Type in the cli
gcloud init
This will initiate a one time flurry of setup activities:
- Google authentication for your newly installed gcloud cli sdk
- a .ssh folder in your home directory and create public and private keys (pki)
- set the default cloud project ( create a new one )
- set the default compute region and zone ( Google has many datacenters, currently Oregon us-west1 is cheaper than Las Vegas us-west4 ). Choose 12 if you in the US or Canada otherwise make sure your choose a datacenter geographically nearby to avoid premium data transfer costs.
Follow the command line instructions, make some notes as there is a lot of info that might be useful later. Just choose the default options and the sensible ones and move on.
Deploy first vm
While I could have made a bunch of screenshots of all the browser options to setup a machine and relevant captions for each step, the guide would become unwieldy with all the hundreds of options. Instead, I will give you this one command line to deploy our first vm with my curated options tuned for Bella rendering. Consider this vm your 'Hello World' project and take the time to examine the settings in the GCP browser console so you can deploy a vm tuned to your particular workload ( memory, disk, cpu, gpu )
The command line sets up:
- machine name to "gbella" and boot disk name to "gbelladisk"
- vm type to t2d-standard-8 ( AMD Milan SMT off, 8 cores, 32Gb )
- a 10Gb boot disk to minimize the prorated per Gb per month charge
- a non SSD drive to avoid premium charges
- a variable 60%-91% discount with a preemptible SPOT vm flag
- an ephemeral ( randomly assigned on reboot ) internet IP address ( not static ) for a discount. ( eventually causing security popups, explained below )
- a Google optimized version of Ubuntu 20.04 LTS minimal
- boot disk option to auto-delete simultaneously when the vm is deleted
- the region and zone as us-west1-c ( Oregon )
Preamble over, here is the one liner you copy/paste into your desktop computer's cli ( the same one you typed gcloud init in )
gcloud compute instances create gbella --machine-type=t2d-standard-8 --network-interface=network-tier=STANDARD,nic-type=GVNIC,subnet=default --metadata=enable-oslogin=true --no-restart-on-failure --maintenance-policy=TERMINATE --preemptible --provisioning-model=SPOT --instance-termination-action=STOP --create-disk=auto-delete=yes,boot=yes,device-name=gbelladisk,image=projects/ubuntu-os-cloud/global/images/ubuntu-minimal-2004-focal-v20221202,mode=rw
You will be asked to enter a numeric choice as to which region/zone the vm should be deployed in. Be aware that there are premium data transfer charges so make sure you choose a datacenter geographically nearby. I chose 97 us-west1-c ( Oregon ) for myself.
inline your zone ie. --zone=us-west1-c next time you create a vm
The command should execute with no errors.

Make a note of the External_IP that Google assigns to your vm. Wait half a minute for Linux to boot. While you are waiting, head over to the GCP browser Console and the VM Instances page you visited earlier and you should see the gbella vm.

Render setup
Now that we having a vm running Linux we can connect using your desktop computer cli (command line interface). (win) Command Prompt (mac) Terminal
Copy/paste into the cli.
gcloud compute ssh gbella
To clarify we are tunneling thousands of kilometers from our desktop computer to Google's Oregon datacenter. Just like controlling the Mars rover, we are sending text only commands via ssh (secure shell) to make stuff happen far away.
On macOS you will additionally be asked to:
[Enter passphrase for key '/Users/bella/.ssh/google_compute_engine']
this is the passphrase ( local password ) you created when you ran gcloud init
Updating Linux
Copy/paste each of these commands individually and hit enter after each line to update Ubuntu and install Bella dependencies.
sudo apt update
sudo apt install -y mesa-vulkan-drivers
sudo apt install -y libgl1-mesa-glx
Installing bella_cli
Run these command to download (wget) and extract (tar) the bella_cli executable from the Diffuse Logic website.
wget https://downloads.bellarender.com/bella_cli-23.4.0.tar.gz
tar -xvf bella_cli-23.4.0.tar.gz
Run the bella_cli executable.
./bella_cli
Running just the app prints the command line usage manual
Bella CLI 23.4.0.0, Copyright (c) 2023, Diffuse Logic

USAGE

OPTIONS...
Rendering
Now we need a bella .bsz file to render. Run this command to download a sample from the Bella developers.
wget https://bellarender.com/doc/scenes/orange-juice/orange-juice.bsz
To render this scene run this command:
./bella_cli -i:orange-juice.bsz
It should take about 35 minutes and will have a watermark since we haven't created our bella license file. Note: it takes 9 minutes to render this scene on an AMD 5950X to help you compare to Google's t2d-standard-8 vm.
Solution A: adding an ampersand to the end of the command
./bella_cli -i:orange-juice.bsz&
will launch Bella as a background process.
Solution B: install and use tmux
Downloading your renders
gcloud cli sdk doesn't include file transfer tools so we'll use what comes with our OS. Open a (win) Powershell or (mac) Terminal. Feel free to get a GUI sftp application but make sure it is from a trusted source since it will need to read your private key (In all honesty, any program you run can read your private key, which is why security conscious users create a pki passphrase). Apparently, putty.exe the standard sftp client on Windows was trojan horsed in 2022 for a few days.
Run this command in Powershell or Terminal to start a secure file transfer bridge.
- replace yourname with your gmail name
- replace 35.212.160.164 with the external address assigned by Google
- -i flag points to the private key created when you ran gcloud init earlier

sftp -i ~/.ssh/google_compute_engine yourname_gmail_com@35.212.160.164
A sftp ( secure file transfer ) 'shell' with the line sftp> and a blinking cursor will appear. To download the rendered image, click the sftp 'shell' windows and paste next to the sftp> prompt.
get orange-juice.png
The image should now be in your home directory on your desktop computer!

If you forget what your external ip address, head to https://console.cloud.google.com Menu->Compute Engine->VM Instances
Uploading your own Bella scenes
To avoid this guide from ballooning in size, I will skip sftp usage details and just force you to copy stuff in and out of your home directory.
(win) C:\users\bella\jewelry.bsz
(mac) /Users/bella/jewelry.bsz
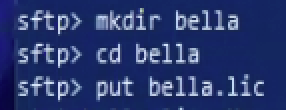
From the sftp (win) Powershell (mac) Terminal window we used earlier, run this command to upload your scene file to Google. This will get uploaded to the home directory of the yourname_gmail_com user on the Google vm.
put jewelry.bsz
Starting a fresh render
Go back to the window that appeared when you ran the command gcloud compute ssh gbella earlier. To clarify this is the tunnel to the Oregon datacenter and the command line interface operates in /home/yourname_gmail_com
Paste this command. Basically you'll learn to juggle back and forth between your ssh ( secure shell window ) and your sftp ( secure file transport protocol window ) to perform an upload + render + download dance. Don't worry, it will become second nature after a week. You can create an unlimited number of these windows
./bella_cli -i:jewelry.bsz&
cli reminder
start a ssh window from (win) Command Prompt (mac) Terminal
gcloud compute ssh gbella
start a sftp window from (win) Powershell (mac) Terminal
substituting your name and ip
sftp -i ~/.ssh/google_compute_engine yourname_gmail_com@35.212.160.164
Extra stuff
Copy your bella license file using the sftp shell, I'll let you sweat the details.
Destroy your Google machine to avoid extra charges
gcloud compute instances delete gbella
Hopefully this setup wasn't too overwhelming. If you get stuck in the shell or the cli, just close all the windows and head to https://console.cloud.google.com and navigate to Menu->Compute Engine->VM Instances and delete your vms. Then take a breath and start from the beginning. No worries, it all virtual!
Appendix
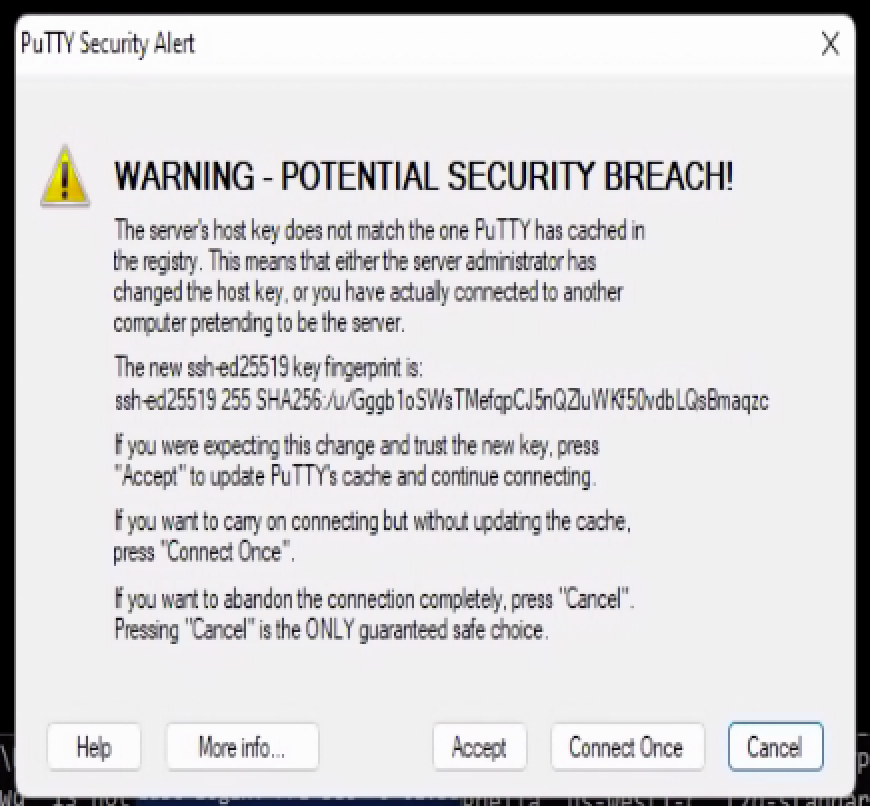
Occasionally you will get this popup with Windows and a similar one on Mac. The reason is that ssh/sftp store the digital fingerprint all servers you visit. This warning means the machine looks different than the last time you connected to this particular IP address. Since we are using randomly assigned ephemeral internet IP addresses, the cycle of make/destroy vms will lead to a future situation where Google recycles an IP address you visited before but the vm it points to is freshly minted and has a new fingerprint. If we were using ssh/sftp passwords you would need to proceed cautiously since long running servers don't suspiciously change their identities midstream. This is called the 'phishing' technique to steal your passwords but since we are using pki (and on macOS a local passphrase), our authentication secrets never leaves your desktop machine.